Archive for July 2014
Making Felted Dryer Balls
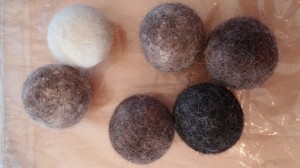 We have been having fun making felted dryer balls using alpaca fiber. The process is quite simple, so we wanted to share the process for others who would like to make their own (You can also buy them premade at the farm or our online store).
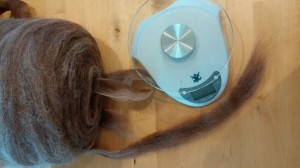
We start with alpaca roving and a small scale
Felted dryer balls bounce around with your laundry to shorten drying time and reduce wrinkles without exposing your clothes to any of the chemicals used in dryer sheets or plastic dryer balls. We recommend using at least three dryer balls to help keep laundry items from tangling around each other and increasing the air flow around the clothes, sheets or towels.
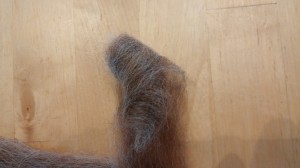
We start rolling the fiber into a tight ball
To make felted dryer balls, we start with alpaca roving, preferably the coarser rovings that are not desirable for creating clothing items. These rovings are generally referred to as thirds as they are the third grade of fiber as we shear alpacas. This fiber comes from the hairy parts of their body, the upper legs, chest and belly areas.
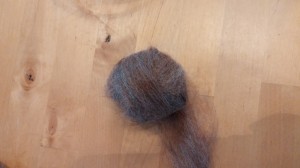
Continue rolling the fiber to create a ball
We roll the fiber into a tight ball, starting with the end of a strip of roving. We continue to tightly roll the fiber around the ball. You can choose to use just one color of fiber, or use a combination of different fibers for a more marbled look to the finished ball.
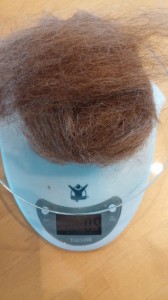
Almost there, keep wrapping
We weigh the ball of fiber occasionally to see if we have reached our goal of 1 ounce. If you find you want larger dryer balls, just continue wrapping past the 1 ounce mark. If the roving separates as you are wrapping, don’t worry, just cover the end where it separated and continue wrapping the fiber until both ends are covered again. To finish, gently tuck the loose end under the rolled fiber.
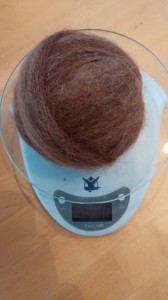
Wrapped and ready to felt
.
.
.
.
.
.
.
.
.
.
Once the fiber ball is wrapped to the size you want, put it into a nylon stocking (I prefer knee high stockings) and tie a bow or knot right above the ball with a piece of yarn or string.
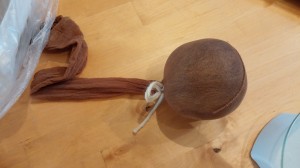
Place the ball of fiber in a nylon stocking and tie
Continue making one ounce balls of alpaca fiber, placing them in the stocking and tying between each ball, until the stocking is full. I can usually get 7 to 8 balls of fiber in each knee high stocking.
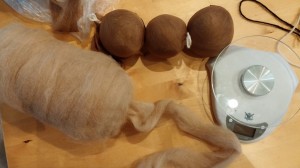
Continue wrapping and adding to your string of alpaca fiber balls
.
Now you are ready to felt. Toss your string of fiber balls into the washing machine. A top loading washing machine is best because it allows you to stop and check your felting progress easily. I have a front loading washing machine, and they work too, it is just a bit more difficult to stop and check as often as necessary.
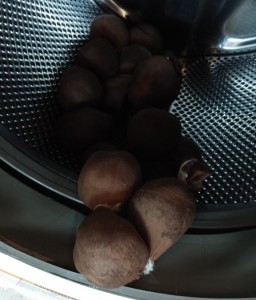
Toss the strings of fiber balls into the washer to felt
As I put the dryer balls into the washer I add either a little bit of dishwashing liquid (not too much) directly onto the dryer balls, or a little laundry detergent to the washer. The soap helps with the felting process and washes out any residual dirt that may be left in the alpaca roving. I begin felting with a warm/cold cycle. You can add a pair of jeans or two to the load to increase the friction. If you felt more than one string of fiber balls, you will probably have to untangle them as they have a tendency to wrap around each other.
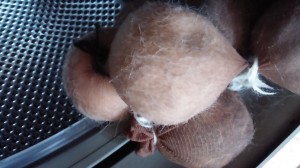
Watch out. The fiber is starting to felt through the nylon stocking
Once you begin felting, you will have to pay close attention to the process. Loose alpaca fiber felts well, and during the early stage of felting will felt through the nylon stocking if left unattended. I have to set a timer so I don’t get involved in another project and forget to check them often. I like to check them every 5 minutes as they are starting to felt. I move the balls around to make sure that the fiber is not sticking to the stocking. If the stocking becomes incorporated into the fiber ball, it is difficult to impossible to remove it.
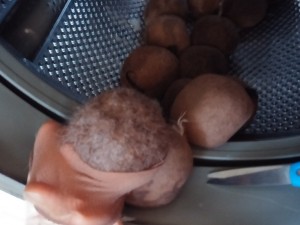
Starting to felt enough to hold together. The ball to the right is still squishy, so leave it in the stocking a little longer
Once you feel the fiber ball starting to harden, you can remove it from the nylon stocking. You are looking for a ball that has felted enough to hold together and maintain its round shape. If it still feels too squishy, simply move it along the stocking to make sure it is not stuck to the edges and wash it some more. Be extra careful with the ball at the toe of the stocking as it often felts faster than the balls in the center of the stocking.

A nicely formed ball made with two colors of roving
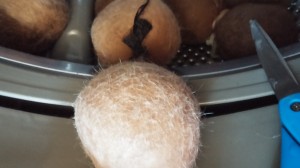
Another ball ready to remove from the stocking
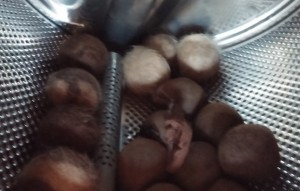
Some of the balls are loose, while others need to felt in the stocking a little longer
..
.
.
.
.
.
.
I use scissors to cut the string between the fiber balls as I release them. If some of the balls are still loose, I leave them in the stockings and continue to wash more to further felt the balls.
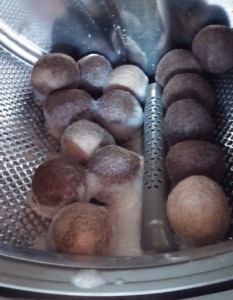
Final Felting
Once all the balls are firm enough to remove from the stocking, add a little more soap (unless they are already very sudsy) and wash them for a full load on a hot/cold cycle. Now you can walk off and not think about them until the load is finished. They will continue to felt into harder balls.
When they have finished in the washer, throw your wet dryer balls into the dryer with a couple pairs of jeans and dry fully. Your dryer balls will last for years, and can be kept in the dryer between loads. They also make great cat or dogs toys, so you may want to make an extra for your pet. You can purchase alpaca fiber to make your own felted dryer balls at our farm store or online.
=======
We have some lovely yarns and fiber from our alpacas in our Etsy shop.
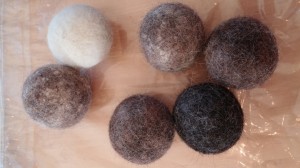
Finished Dryer Balls
